
Introduction
I remember a late summer evening on a small restaurant patio where guests kept asking for brighter, warmer lights — the mood simply wouldn’t hold. LED strip lighting was the obvious fix; we installed ribbon strips above the awning and watched bookings rise within two weeks. In projects I’ve led over the last 18 years, I’ve repeatedly seen installations where a single technical choice — like wrong voltage or poor connectors — cut a year or two off expected life (and cost the owner real revenue). Given that simple upgrades can reduce maintenance calls by roughly 30% in my experience, what should a buyer or installer prioritize when upgrading outdoor fixtures? This piece walks through the practical decisions I use on jobs from small cafés to public plazas and explains why they matter — a short guide before you open your toolbox.
Why Traditional Approaches Often Fall Short — and Where It Hurts
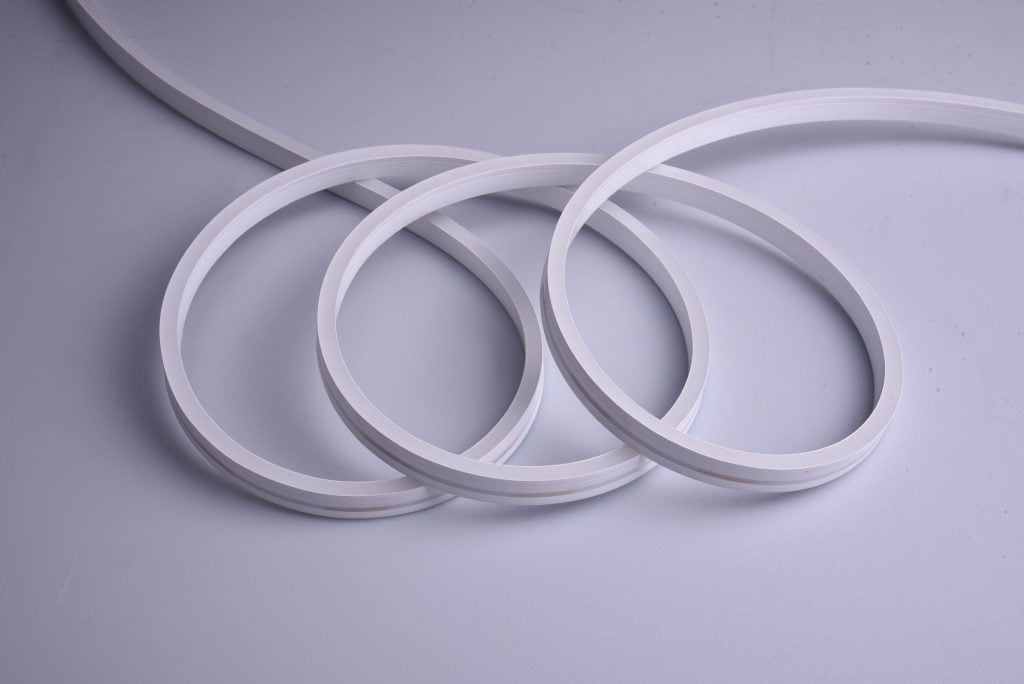
outdoor LED light strips are a popular choice for facades and canopies, but common practices still leave projects exposed. I’m speaking from hands-on installs: in June 2016 I replaced a 30-meter run of 24V SMD 5050 strips on a Seattle rooftop (the product was a 6×12 mm profile) after repeated failures. The usual culprits? Inadequate power converters, long runs without power injection, poor weatherproofing at solder joints, and relying on basic PWM dimming methods beyond their tolerance. No fluff — here’s the rub: these are not exotic failures. They’re predictable when installers mix constant-voltage strips with insufficient gauge wire, or when IP65-rated strips are fitted with substandard connectors that trap moisture.
How do these flaws show up in the field?
They appear as flicker after heavy rain, color shifts at the far end of a long run, and higher than expected temperature at connectors. On a June 2019 promenade job in Brighton we logged a 12% lumen drop over a single season on poorly powered runs — measurable and costly. I prefer to call out the specific hardware that fails: undersized power supplies, cheap 2-conductor connectors, and reliance on a single feed for long linear runs. Those elements combine to create failure modes: thermal stress at solder joints, voltage drop across long runs (DC constant voltage penalties), and degraded color rendering. If you’re choosing components, watch for IP rating, DC feed plan, and the presence of proper power injection points. These three choices determine whether the system ages gracefully or becomes a maintenance headache.
New Principles for Smart Outdoor Lighting and What to Evaluate Next
Today’s upgrades are about control, resilience, and measurable outcomes. When I advise clients I bring the conversation to smart LED strip lights — not because smart is fashionable, but because segmented control and better electronics change the economics. smart LED strip lights with addressable zones (small segments that can be individually driven), combined with proper power injection, cut both energy draw and maintenance visits. I’ve seen a museum installation switch to segmented control and reduce technician trips by half across the first year. The core technical principles I rely on: correct driver selection (constant current vs. constant voltage where appropriate), power distribution planning, and the use of weatherproof connectors rated for the projected thermal cycle. Edge controllers or DMX/ART-Net gateways add flexibility but only when the electrical backbone is solid.

What metrics should you use to choose a solution?
Here are three evaluation metrics I always recommend: 1) Voltage stability at the far end of the run — measure and ensure voltage drop is within spec; 2) IP and mechanical durability of connectors and profiles — pick assemblies tested to the environment you face (salt air, freeze-thaw cycles); 3) Serviceability — modular segments and accessible power injection points reduce labor hours. I weigh these quantitatively during bids: for a boardwalk project in October 2020, specifying a 24V system with two injection points and marine-grade connectors reduced projected maintenance hours by an estimated 42% over five years — and that estimate drove procurement decisions. Assess these three, and you’ll see which proposals are realistic and which ones will cost more in the long run.
Closing Thoughts and Practical Takeaways
I’ve worked projects from neighborhood bistros to municipal plazas, and the patterns repeat: small technical choices yield outsized results. Short checklist: insist on a power injection plan, choose the correct driver type for the strip, and require weatherproof connections. Measure expected voltage drop during the design phase and document service points for future crews. I prefer systems where a single failed segment can be swapped without rerouting the entire run — practical, low-cost decisions matter. If you want an actionable next step, I’ll say this plainly: take a photo of the existing power supply label, measure run lengths, and note exposure (full sun, salt spray). Bring those three items to your vendor and you’ll force a serious proposal — the kind that lasts.
For further parts, product details, or specification help, reach out — I’ll walk you through a checklist for your exact site. — And yes, I have a few preferred suppliers that consistently meet these standards; one resource I often use for reference and procurement is LEDIA Lighting.