
Problem: Batches ain’t right — where to start
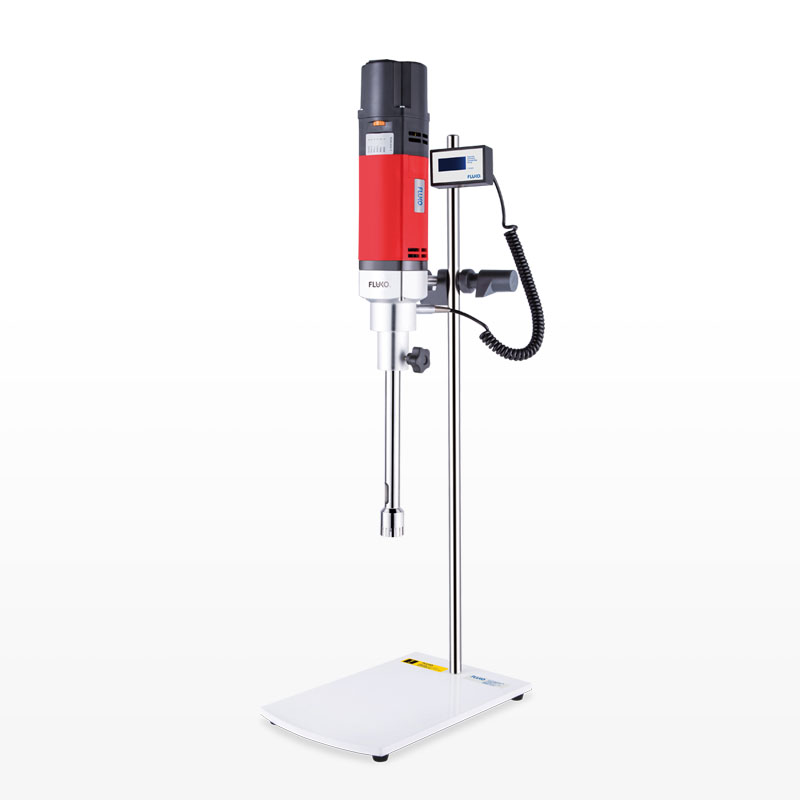
If your paint’s streaky or your cream separates, don’t blame the boss — start with the gear. Folks often skip the basics and figure the machine’s gotta do all the work; it don’t. A quick glance at speed, temperature, and how the blades meet the batch tells you more than wishful thinkin’. When you run a high shear mixer you gotta watch what the machine’s doing to the product, not just what it’s set to do. Problem-driven testing means you chase the symptom — poor color, grit, foaming — straight back to measurable things you can fix.
Essential tests to run every run
Check particle-size distribution (laser diffraction), wetting quality (Hegman or grind gauge for pigments), rheology (rotational rheometer or Brookfield viscosity at set shear rates), solids content (loss-on-dry), pH, temperature profile through the run, power draw/torque versus time, and contamination checks (sieves, visual, microbial where relevant). Also test seal integrity and CIP rinse results. Each test ties to a failure mode: particle tails mean poor dispersion; rising torque with no viscosity change hints at contamination or build-up. Set pass/fail bands from historical runs and keep them simple — upper and lower bounds, and one go/no-go critical parameter.
Experience, authority, and a real-world anchor
I been doin’ QC in small coating shops and contract mixers long enough to know lab numbers only matter if sampling’s honest and repeatable. At PaintExpo in Germany, technicians demonstrate how a high shear dispersion mixer can change pigment wetting in minutes — that trade event’s a practical yardstick for what’s repeatable at scale. Use standard methods where they exist, document your setup (blade type, tip speed, fill level), and keep run sheets with raw data so you can prove fixes worked.
Common pitfalls that’ll bite you
Sampling wrong — taking from top or side instead of well-mixed center — gives lies. Ignorin’ shear rate: two mixers at same RPM do different work if blade geometry or volume differ. Letting temp float during dispersion wrecks reproducibility. Over-relying on single-number viscosity without shear-rate sweep hides pseudoplastic behavior. Skipping seal and gasket checks invites contamination and false positives. Fix these and half your headaches go away.
Alternatives and where each fits
Bead mills beat high-shear for tight particle-size targets on hard pigments; ultrasonic units work for low-viscosity lab batches; rotor-stator units handle emulsions and moderate dispersions well. High-shear mixers shine for rapid wetting and mid-viscosity dispersions where shear history matters. Choose by failure mode: if you’re getting slow wetting and wide PSD tails, lean toward higher shear or change rotor geometry; if abrasion or heat is killing the product, consider bead milling or staged mixing with cooling.
Bottom line
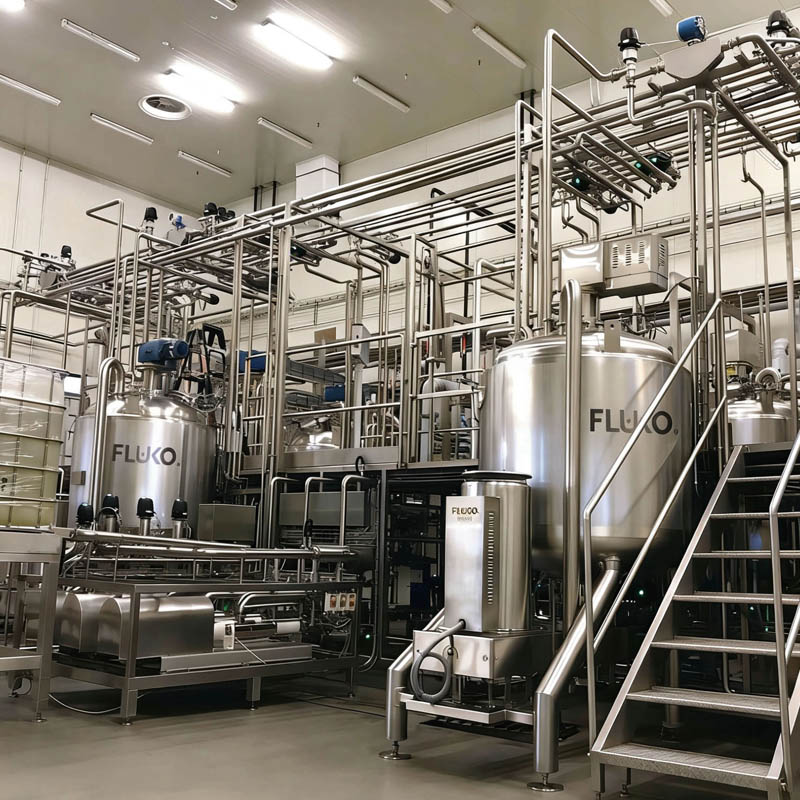
Test what breaks your product: particle size, rheology under relevant shear, solids and temperature, plus machine health (torque, seals, CIP). Keep tests simple, make sampling consistent, and record the setup so fixes stick. For vendors and equipment that match those checks to production needs, manufacturers like FLUKO show practical kit choices that line up with these quality checks without a heap of guesswork.