
The problem driving change
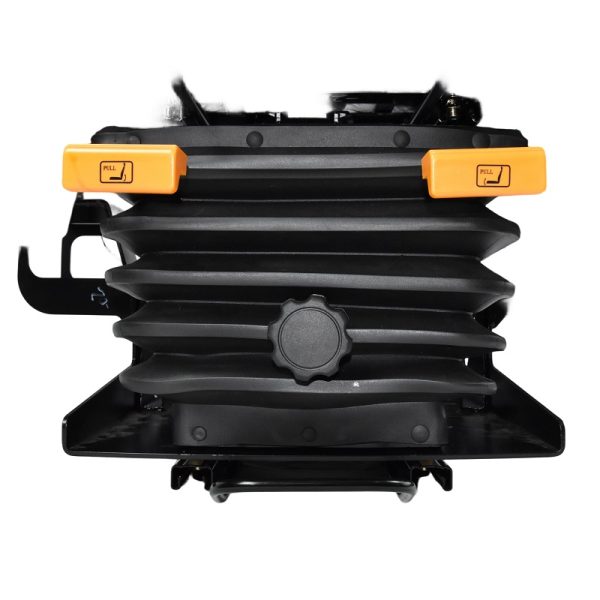
Poorly chosen or improperly installed seats kill productivity and wear out crews faster than any other cab component; operators in high-vibration zones like the Port of Rotterdam have long reported shortened equipment uptime because of seat failures, and that data matters. For managers who must make decisions under budget pressure, investing in a tested construction machinery seat or a proven universal equipment seat is not optional — it’s tactical. The immediate issues are clear: incorrect mounting, ignored suspension settings, and mismatch between seat isolator capability and machine vibration spectrum. Fix those, and downtime drops; ignore them, and you invite ergonomic claims and avoidable replacements.
Assess the vehicle and the task before buying
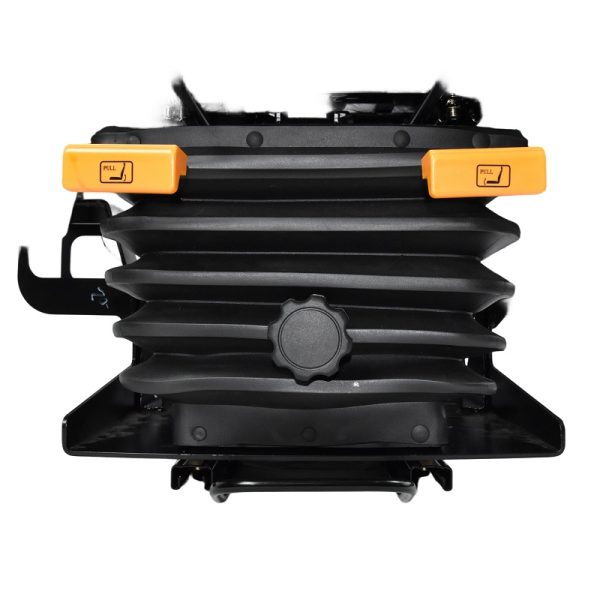
Start by mapping usage. Heavy rock-salad trails need a pneumatic suspension seat with adjustable dampening; slow, finish-grade hauling needs stable mechanical suspension and a firm base. Measure the mounting rail spacing and the cab floor’s plate thickness. Check the seat’s specification for shock absorption and lumbar support ratings against your expected duty cycle. Record simple numbers: vehicle class, average daily hours, and peak vibration levels if you have a meter. Those three datapoints steer you toward the right isolator and the correct mounting hardware — and they keep replacement costs predictable.
Installation priorities that actually reduce risk
Follow these steps in order and stick to torque values on the hardware. First, secure a level mounting plate; misalignment voids suspension action. Next, install proper vibration damping washers and torque bolts to manufacturer specs. Adjust seat travel and air pressure only after the operator is seated and the machine is warmed up. Fit electrical connectors—if the seat has heaters or active suspension—so they don’t chafe against sharp edges. Finally, validate with a short field test across typical terrain and log the results. These are not optional steps; they are the baseline that separates a seat that lasts a season from one that fails early.
Common installation mistakes and how to avoid them
Many crews repeat the same errors. They reuse worn mounting rails, under-torque bolts, or connect suspension air lines incorrectly. They also forget to calibrate lumbar and fore-aft stops to the operator, which increases fatigue and leads to improper posture. Avoid shortcuts: replace rails when corrosion is present, use threadlocker where vibration is severe, and store seat manuals in a central digital folder for technicians. A short checklist before each shift saves hours later — it’s a small administrative step with big ROI.
Alternatives and upgrade paths
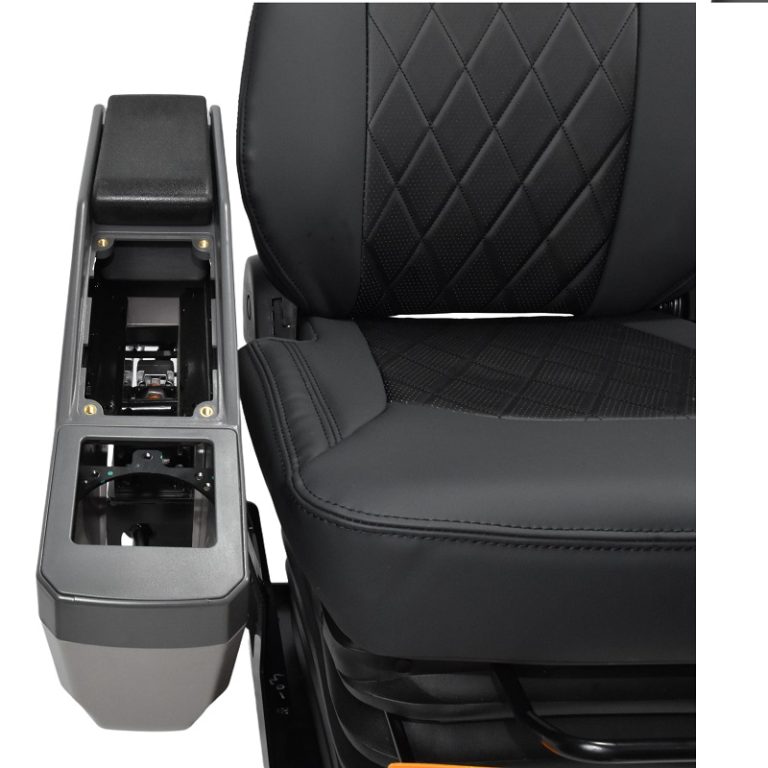
If vibration is the dominant problem, prioritize seats with multi-stage suspension and adjustable dampers. If budgets constrain you, choose a modular seat base that allows later retrofitting of pneumatic modules — cheaper now, upgradable later. For fleets with varied machines, a universal mounting kit paired with a high-quality cushion and replaceable covers extends service life. Consider aftermarket recline mechanisms only from reputable suppliers; compatibility matters and cheap parts often increase downtime — a false economy.
Advisory: three golden rules for selection and installation
1) Match suspension capacity to vehicle vibration profile: overspec and you waste cost; underspec and you invite failure. 2) Insist on documented torque tables and a two-step validation (bench and field). Require a signed handover record after installation. 3) Track operator comfort and service intervals numerically: mileage, hours-on-seat, and maintenance dates. These metrics let you prove the investment and justify replacements before catastrophic wear.
Follow these rules, and you’ll see measurable drops in downtime and ergonomic complaints — which, in practical terms, means fewer emergency repairs and steadier project schedules. Source One. —