
Introduction: A Small Scene, A Big Statistic, A Practical Question
I once watched a maintenance team pause work because one tool sparked when it hit a flange — small scene, big consequence. Data show that tool-related ignition still causes a measurable share of site incidents in classified zones, and this worries me (we track lost hours, near-misses, and repair cost closely). The non sparking hammer is often the simple answer on the toolbox sticker, yet have we really tested how it behaves after months of real use?
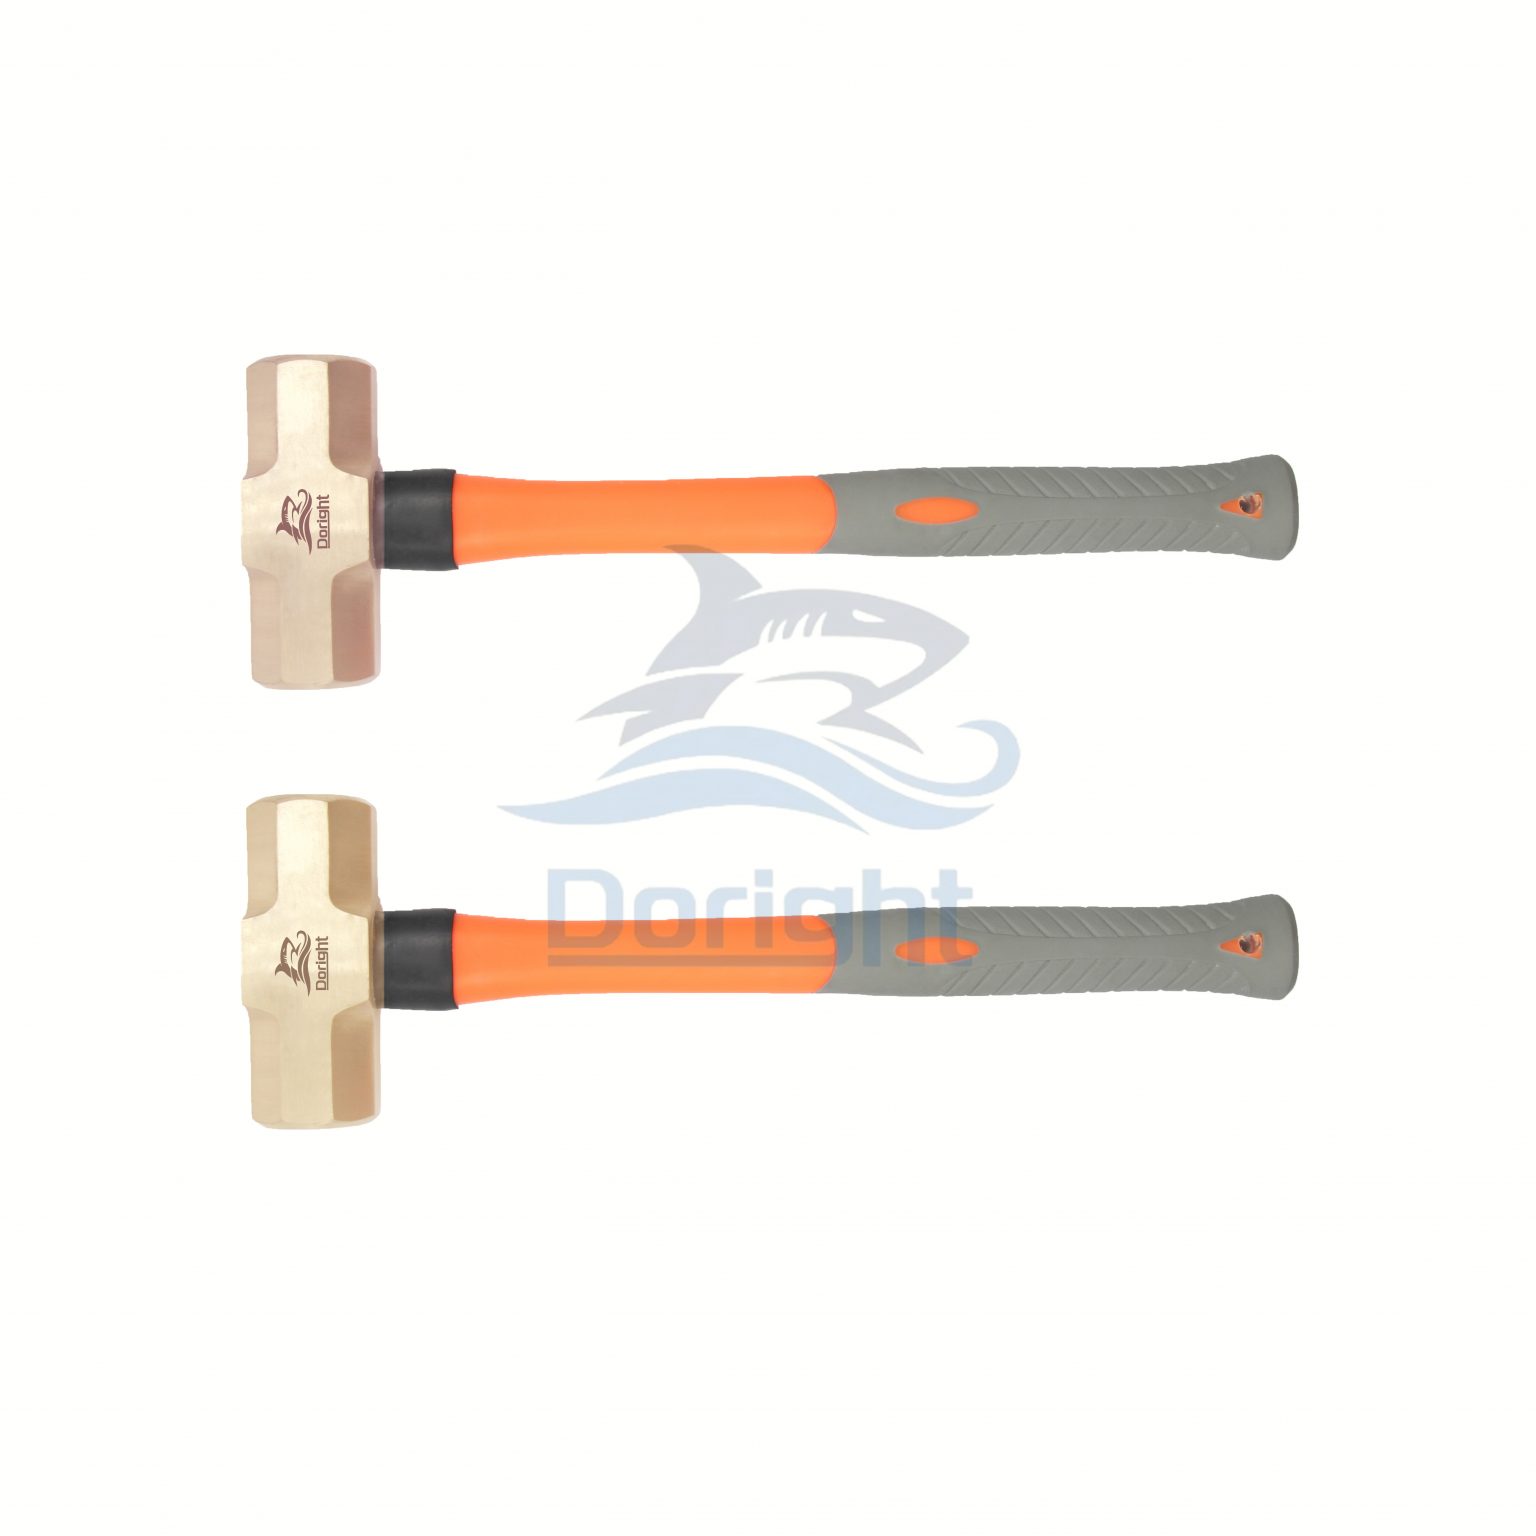
I write from hands-on experience and from talking with technicians who count on intrinsically safe tools day after day. We see issues with electrostatic discharge and with how instruments hold up under repeated impact. Hazardous area classification matters — and so does the choice of alloy and the way tools are stored. That leads me to ask: how do we keep performance steady, not just at purchase but after repeated shifts and rough handling?
In the sections that follow, I will walk through what commonly goes wrong, why standard fixes miss the mark, and what to look for next — practical detail, not sales rhetoric. We begin by digging into the subtle failures that creep in, then move toward realistic upgrades and simple checks you can use today.
Part 2 — Why Common Fixes Miss the Mark
non-sparking hammer solutions often get applied as a checkbox: buy the right alloy, label the toolbox, train the crew. But this checklist approach fails in two main ways. First, material selection is treated as binary — non-ferrous equals safe — while wear patterns and surface roughness evolve. Second, maintenance plans are generic. Look, it’s simpler than you think: if you ignore impact energy history and corrosion progress, the tool loses its spark tolerance long before you notice.
Technically, many teams ignore fatigue cracking and micro-abrasion. These are not glamorous terms, but they matter. When a face develops tiny pits or a handle loosens by a millimeter, you get unexpected contact points and altered strike angles — and that raises the chance of friction heating. We also see problems with storage practices and cross-contamination (grease, scale, stray steel particles). The usual “inspect monthly” memo won’t catch these slow failures. I’ve seen hammers that looked fine at a glance but failed in a test drop — funny how that works, right? The fix requires measuring impact history, checking corrosion resistance, and treating storage as part of the safety system.
So what should you actually check?
Ask: Is the alloy still smooth? Has the head moved? Are there sharp burrs? Keep a simple log. Use torque checks on fasteners. Track impact counts if you can. These steps reveal hidden wear before it becomes a hazard.
Part 3 — New Principles and Practical Steps for Future Reliability
What’s next — new design thinking or new procedures? I prefer both. From a technology principle view, models that combine predictable alloy behavior with clear maintenance metrics win. For example, toolmakers who specify controlled non-ferrous blends and provide impact-energy ratings make it easier for us to match tools to tasks. Also, devices with simple, repeatable inspection points — a machined flat, a visible wear groove — let crews do fast checks without special instruments. This is not rocket science; it is disciplined engineering plus user-friendly design — and it pays off in reduced downtime.
On the equipment front, consider complementing a quality non-sparking hammer with an explosion proof hammer for zones needing extra assurance. Use material alloying choices that resist pitting, and specify maintenance intervals based on impact counts, not calendar days. Also — short digression — train people to report near-misses; that input is gold for improving tool policies.
What to measure going forward
My advice: pick three clear metrics and stick to them. First: impact-count or duty-cycle per tool. Second: measurable wear threshold (depth, burr height, or loss of mass). Third: storage and contamination score (simple pass/fail). Use these metrics to decide repair, rework, or retire. They give you objectivity and reduce guesswork — and they help you compare suppliers fairly.
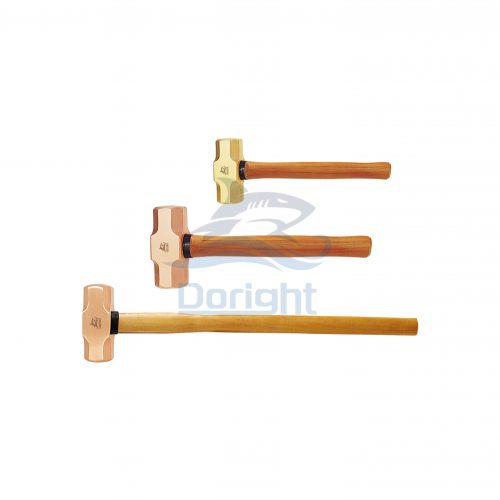
Closing: Practical Takeaways and Three Evaluation Metrics
We learned that labels and one-off inspections are not enough. I feel strongly that tools should be judged by how they hold up under use, not just by alloy spec sheets. Evaluate suppliers on real performance data, not just promises — ask for impact ratings and documented corrosion resistance. Measure what matters: impact cycles, measurable wear, and storage condition. These metrics give you a clear way to decide when a tool is still reliable and when it must be replaced.
In short: keep checks simple, insist on measurable standards, and train teams to spot slow failures early. I use these steps in my own site reviews and the difference is clear — fewer surprises, less downtime, and safer shifts. For dependable tools and sensible standards, consider Doright as a source when you need consistent performance and clear specs.