
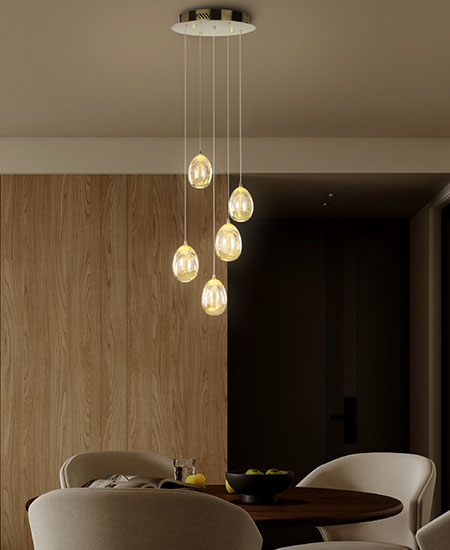
The Crossroads: Custom vs. Off‑the‑Shelf
You walk into a new lobby and the lights look dope—until the shadows trip over the seating and the logo wall reads flat. A designer lighting company probably mapped a clean mood board, but the install missed the mark. Stats don’t lie: change orders on lighting can burn 10–18% of timeline and budget when specs don’t match site conditions. So here’s the move—do you buy standard fixtures or go with custom lighting design & manufacture to fit the space for real? Think about it. CRI, lumen output, and power converters all hit different once you put metal, glass, and people in the same room. The wrong beam angle can wash the floor or glare a camera. The right optic can make textures pop. We’re talking small choices with big ripples (yup, even the cable run). Direct take: most teams overestimate how “plug-and-play” the off-the-shelf route is, and underestimate how fast custom can move with a tight brief. Question is, where do the usual paths break down, and how do you keep control without adding chaos? Let’s roll into that next.
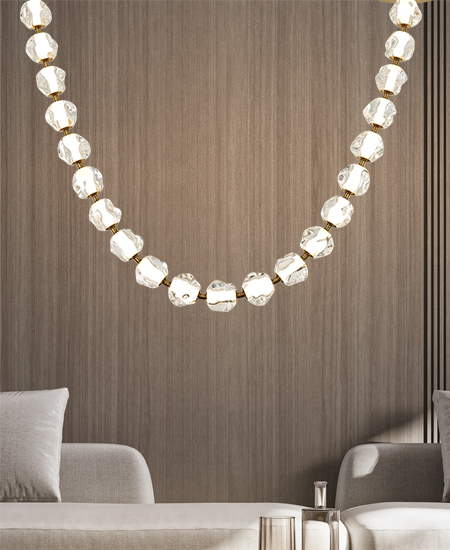
The Hidden Flaws in Traditional Lighting Choices
Where do legacy methods fall short?
Old-school play: pick catalog fixtures, swap finishes, call it done. The flaw? Tolerances stack. Ceiling height shifts, surface reflectance changes, and now your photometric plan doesn’t track. Off-the-shelf housings lock you into fixed heat sink sizes, which can choke thermal management when ambient temps rise. Then the DALI drivers don’t talk nicely with a mixed control stack, and your dimming curve steps instead of gliding. IP rating gets guessed, not tested, and maintenance teams eat the cost later. Look, it’s simpler than you think: most surprises come from hidden interfaces—mounting, control, and airflow. If any one piece is off, glare and color drift show up fast.
Procurement adds another snag. Finish lead times, lamp binning, and third-party brackets can create a Frankenstein spec—funny how that works, right? You spend days chasing photometric testing data that never matches the room. By contrast, a disciplined custom path starts with site constraints first, then locks the optic, driver, and mounting as one system. That means fewer late swaps, tighter thermal headroom, and verifiable beam quality before the goods ship. It’s not about fancy; it’s about reducing failure points and keeping variance low.
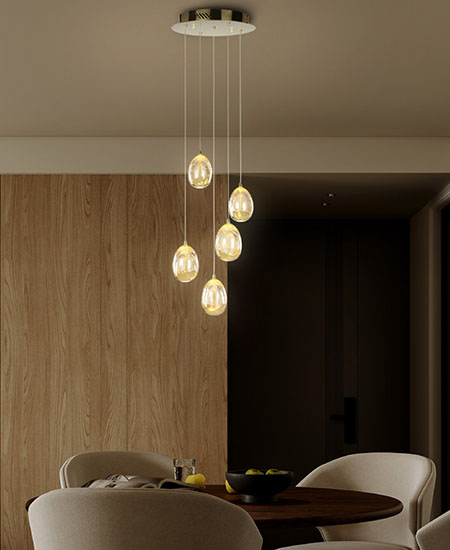
Comparative Playbook: New Principles, Clear Gains
What’s Next
Here’s the forward look, side by side. New custom workflows use parametric modeling plus a digital twin of the room, so the beam angle and candela curves evolve with the space. The shop runs CNC for precision housings, validates the heat path, and tunes drivers so the dimming floor stays smooth at 1%. Controls? Mix DMX for scenes and DALI for zones without protocol drama. When you pursue bespoke lighting design, you get fixtures that arrive wired to your control map, with test photos, not just catalogs. Shipping is staged, labels match circuit schedules, and installers don’t guess which bracket goes where—less downtime, more consistency. And the cost picture gets clearer too—capex vs. opex, modeled early.
So what should you measure before you pick a lane? Advisory mode, three metrics: (1) Integration risk: count interfaces—optics, drivers, controls, mounts—and rate each by failure cost. Lower is better. (2) Performance stability: demand verified thermal management and color consistency across dimming; ask for raw test files, not just PDFs. (3) Lifecycle clarity: confirm service parts, driver replacement paths, and finish durability in your climate. If custom beats catalog on those three, you’re not chasing “fancy”—you’re buying fewer headaches. Keep it calm, compare like-for-like, and choose the path that lowers rework while lifting experience. When the light lands right, everyone notices—sometimes only because nothing feels off. For a practical starting point, review process depth and past integration wins at kinglong.