
Introduction: A Quiet Moment at the Vanity, and the Numbers Behind It
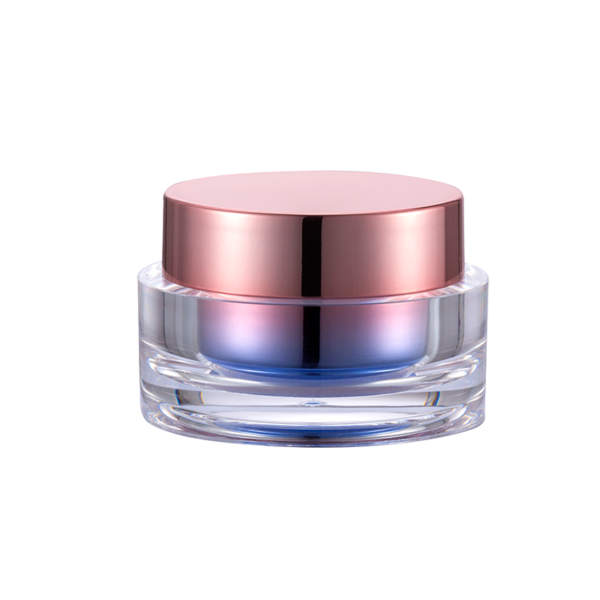
Picture the end of a long day: soft light, clean hands, and a calm face in the mirror. On the counter sits an acrylic cream jar you twist open each night. For many brands, switching to acrylic cream jars cut breakage rates by double digits and extended shelf appeal for 12–18 months—those are not tiny gains (and they add up). Yet as returns for leaks and texture shifts still linger at 6–9% across some lines, you may ask: what is hiding under the lid? The answer is not only about looks. It is about barrier performance, closure integrity, and how users move. Small gaps create big waste. A cap that loosens in transit. A seal that breathes by accident. A finish that scuffs after week two—funny how that works, right?
Here is the core question: if the jar is tough and clear, why do fragrance fade and micro-leaks still occur? The cause is often a detail most people never see. It lives in thread pitch, gasket choices, and UV exposure at the vanity. This is not theory; it is daily practice. We will map those issues, then compare the fixes. Let’s move from the mirror to the mechanics.
Where the Pain Hides in Daily Use
What’s the real sticking point?
Let’s take a technical look, plain and simple. Many failures begin at the closure. Torque retention drops during shipping, and a tired gasket loses squeeze over time. That small “give” invites air. Oxygen transmission rate (OTR) goes up, and sensitive actives begin to drift. UV stabilizers in the resin help, but a thin wall or a clear cap can still let light stress a formula. Look, it’s simpler than you think: barrier, light, and seal must work as a team. When they do not, viscosity changes, fragrance lifts, and the user feels the loss—first as a softer scent, then as a cream that spreads different. That is the hidden cost behind a nice gloss.
There is more. Users twist with wet hands. If the knurl lacks grip, opening force rises and drops the jar risk. A rough fall reveals another gap: wall thickness that looks firm but fails a drop test on tile. Thread pitch mismatches also lead to cross-threading, which is a quiet leak in waiting. Inside the cap, a poor liner invites compression set; it springs back less after weeks, so the seal relaxes. Compatibility testing can catch this, but it needs to include real life: heat cycles, cold cycles, and travel vibration. Leachables from inks or coatings can creep in if QC misses a step. The daily pain is not dramatic; it is slow and dull. Users do not complain at first—they just stop loving the product.
Comparing Today with Tomorrow’s Benchmarks
What’s Next
Now, let’s compare the current jar to what is coming. New lids use co-molded liners that keep torque stable after aging. Induction seal liners add a backup barrier without hard tools. Some brands are testing antimicrobial masterbatch and better UV blockers in the resin itself. Others add vacuum metallization under a thin over-cap to cut light. In practical terms, that means a steadier scent and fewer returns. When you choose acrylic cosmetic cream jars, look for closures that hold torque after 12 weeks at 40°C, not just day one. Also ask for wall thickness maps and proof of drop safety. Standards like GMP and ISO 9001 do not guarantee perfection, but they set a floor—and a culture of checking.
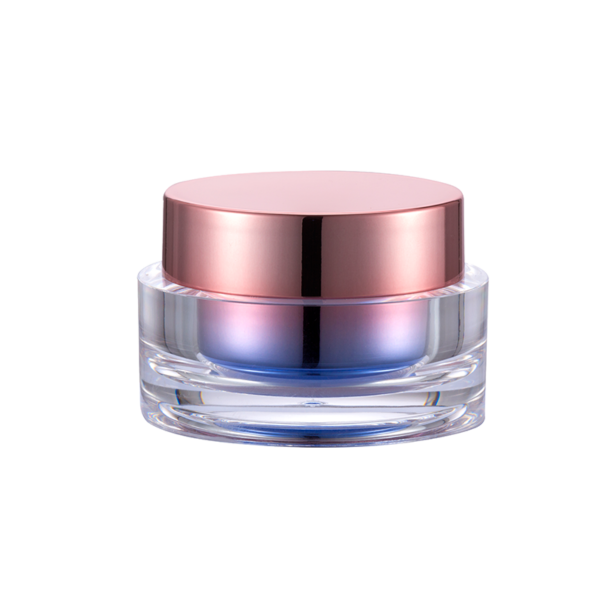
Consider a recent case: a mid-size brand swapped to a jar with a revised thread profile and a softer EPE liner. Result: 28% fewer leak claims, 15% better color stability at 6 months, and faster line speeds due to cleaner capping. No magic—just better fit between cap and body, and reduced OTR. Another team moved from PETG to PMMA where clarity mattered; they paired it with a tinted inner pot to shield actives. Returns fell, and user praise rose. The big idea is simple: you balance clarity, barrier, and feel. You use data from shelf and sink, not only the lab. Then you keep iterating—because hands change, climates shift, and habits surprise us.
How to Choose with Confidence: Three Metrics That Matter
Advisory, not hype: use three checks before you commit. First, barrier and light. Ask for OTR/MVTR data and a UV exposure test (ASTM methods help). Verify the number on real jars, not only plaques. Second, closure integrity. Measure opening torque out of the box and after aging. Check gasket compression set and watch for back-off after vibration. A small twist today can be a big leak tomorrow—funny, but true. Third, material and finish quality. Confirm resin grade, wall thickness uniformity, and abrasion resistance of any coating. Inspect the gloss index after a simple rub test and a drop test from counter height. Keep the test plan short, real, and repeatable. When those three boxes are solid, the rest follows: cleaner filling, steadier texture, happier users. For a steady baseline and clear specs, see NAVI Packaging.